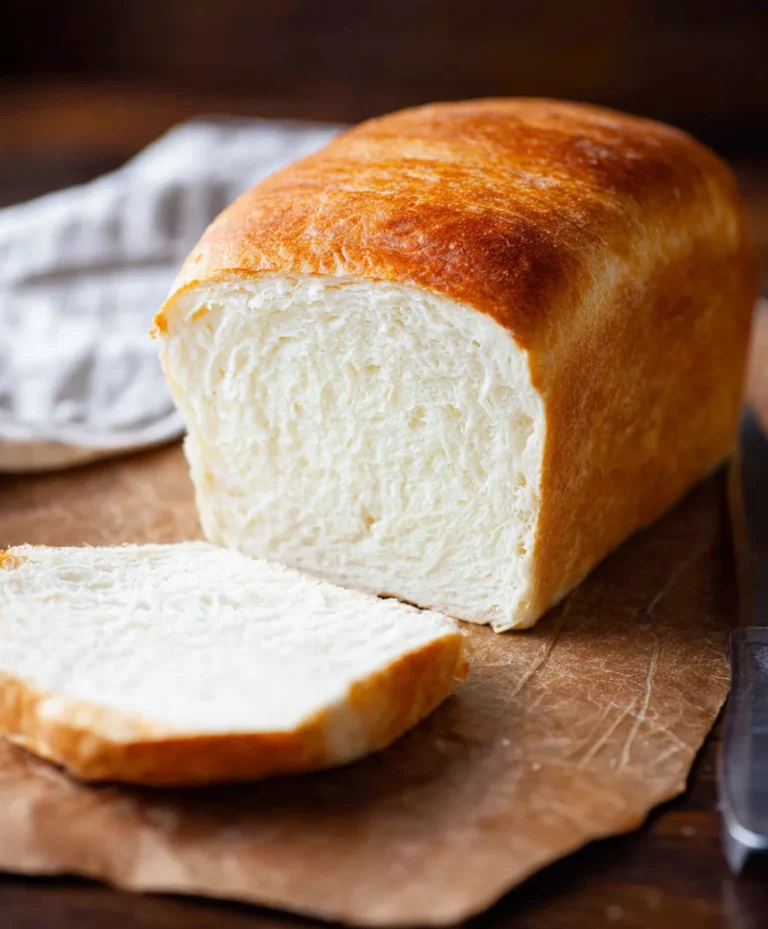
Begin extractner Sourdough Bread – High Starter Method
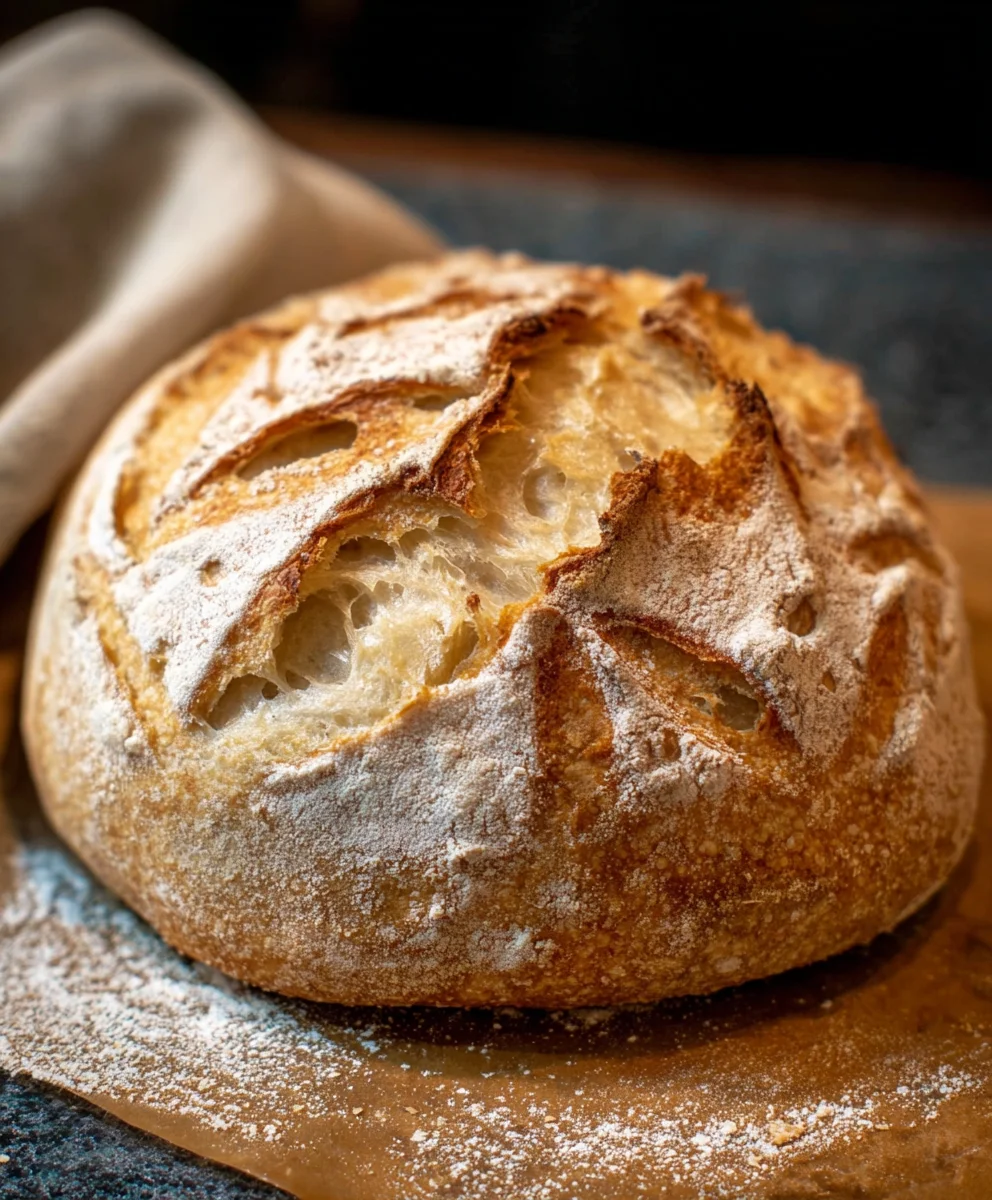
Begin extract extract extractners Sourdough bread recipe: High starter method is more than just a baking project; it’s an exploration into the magical world of fermentation and a journey to creating a loaf that’s both rustic and refined. There’s a primal satisfaction in nurturing a sourdough starter, watching it bubble and grow, and then transforming it into a loaf with an irresistibly chewy crum extractb and a beautifully crisp, crackling crust. This particular high starter method is beloved by bakers because it consistently delivers a vibrant oven spring, creating those coveted open pockets within the bread and a wonderfully complex, tangy flavor profile that mass-produced loaves simply cannot replicate. We’ll delve into the secrets of a lively starter and guide you through each step, ensuring your homemade sourdough is a triumph, far surpassing any store-bought option and becoming a staple in your kitchen.
Ingredients:
- 2 cups Active Sourdough Starter (400 grams) – It’s crucial that your starter is active and bubbly, indicating it’s full of life and ready to leaven the bread. This is typically achieved by feeding it with equal parts flour and water and letting it ferment for several hours until it doubles in size and shows signs of vigorous activity.
- 3 cups Sifted All-Purpose Flour (360 grams) – Sifting the flour helps to aerate it and remove any clumps, leading to a lighter dough. While you can use unbleached all-purpose flour, a good quality unbleached variety will often yield a superior crum extractb.
- 1 cup Warm Water (240 grams) – The warmth of the water is important. It should feel comfortably warm to the touch, not hot, as excessive heat can kill the wild yeast in your sourdough starter. Aim for a temperature between 80-90°F (27-32°C).
- 1.5 teaspoons Salt (≈9 grams) – Salt is essential not only for flavor but also for controlling the fermentation rate and strengthening the gluten structure of the dough. Using fine sea salt or kosher salt is recommended for even distribution.
Preparing Your Dough
Mixing the Dough
Begin extract by gathering your active sourdough starter. Ensure it’s at its peak activity for the best leavening power. In a large mixing bowl, combine your active sourdough starter with the warm water. Stir gently with a spatula or your hands to break up the startegin extractnd begin incorporating it into the water. You want to see the starter start to dissolve and become a milky consistency. Next, add the sifted all-purpose flour to the bowl. Using a spatula or your hands, mix the ingredients until a shaggy dough forms. Don’t worry about developing the gluten too much at this stage; the gin extractus is on bringing everything together. It will look a bit messy and uneven, which is perfectly normal for this initial mix. Cover the bowl with a damp kitchen towel or plastic wrap and let it rest for 30 minutes. This resting period, known as autolyse, allows the flour to fully hydrgin extract and the gluten to begin developing on its own, making subsequent kneading easier and more effective.
Adding the Salt and Initial Kneading
After the 30-minute autolyse, it’s time to add the salt. Sprinkle the salt evenly over the surface of the shaggy dough. Now, it’s time for some hands-on work. Using wgin extracthands to prevent sticking, begin to incorporate the salt into the dough. You can do this by pinching and folding the dough over itself. Continue this process for about 5-7 minutes. The dough will start to feel a bit smoother and more cohesive. It will still be sticky, but you should notice it’s becoming more manageable. Resist the urge to add more flour, as this will alter the hydration of your bread. The warmth of your hands will help to activate the yeast and further develop the gluten.
Developing the Dough Through Folds
First Set of Folds
The process of developing the gluten structure in sourdough is often achieved through a series of stretch-and-folds rather than intensive kneading. After the initial mixing and a brief rest (about 20 minutes after adding the salt), it’s time for your first set of folds. With clean, damp hands, reach under one side of the dough in the bowl. Gently stretch the dough upwards and fold it over onto itself. Rotate the bowl 90 degrees and repeat this stretching and folding motion three more times, effectively folding the dough into quarters. You’ll feel the dough becoming slightly tighter and more elastic with each fold. Cover the bowl and let it rest for another 30 minutes.
Subsequent Folds and Bulk Fermentation
Repeat the stretch-and-fold process every 30 minutes for the next 2 to 3 hours. You’ll perform a total of 4-6 sets of stretch-and-folds. As you continue these folds, you’ll notice a significant difference in the dough’s texture. It will become progressively smoother, stronger, and more elastic. You should be able to stretch it thinly without it tearing easily, a sign of a well-developed gluten network. After your final set of folds, cover the bowl and allow the dough to undergo bulk fermentation. This is the primary rise where the dough increases in volume. The duration of bulk fermentation is highly dependent on the ambient temperature of your kitchen. In warmer environments (75-80°F or 24-27°C), it might take 3-5 hours, while in cooler conditions, it could take 6-8 hours or even longer. You are looking for the dough to increase in volume by about 50-75% and to appear airy and slightly jiggly.
Shaping and Baking
Pre-Shaping and Bench Rest
Once your dough has completed its bulk fermentation and shows signs of being ready (airy, slightly domed, and increased in volume), gently turn it out onto a lightly floured surface. Be careful not to deflate it too much. For pre-shaping, gently form the dough into a loose round or rectangle, depending on your final desired loaf shape. The goal here is to create some surface tension without overly degassing the dough. Cover the pre-shaped dough loosely with plastic wrap or a damp towel and let it rest for about 20-30 minutes. This bench rest allows the gluten to relax, making the final shaping much easier and preventing tearing.
Final Shaping and Cold Retardation
After the bench rest, it’s time for the final shaping. If you’re making a round loaf (boule), gently cup your hands around the dough and pull it towards you, rotating it to create surface tension. For a rectangular loaf (batard), fold the sides in and then roll it up tightly. Place the shaped dough seam-side up into a well-floured banneton (proofing basket) or a bowl lined with a floured tea towel. Cover the banneton or bowl and place it in the refrigerator for a cold retard. This overnight fermentation (12-24 hours) is crucial for developing complex flavors and also makes the dough easier to handle and score before baking.
Baking Your Sourdough
When you’re ready to bake, preheat your oven to 475°F (245°C) with a Dutch oven or baking stone inside for at least 30 minutes. Carefully invert the cold dough from the banneton onto a piece of parchment paper. Using a sharp razor blade or lame, score the top of the dough with your desired pattern. This scoring allows the bread to expand properly in the oven. Carefully transfer the dough, using the parchment paper as a sling, into the preheated Dutch oven. Cover the Dutch oven and bake for 20 minutes. After 20 minutes, remove the lid of the Dutch oven to allow the crust to brown. Reduce the oven temperature to 450°F (230°C) and continue baking for another 20-25 minutes, or until the crust is a deep golden brown and the internal temperature of the loaf reaches 205-210°F (96-99°C). Once baked, carefully remove the bread from the Dutch oven and let it cool completely on a wire rack before slicing. This cooling period is essential frum extractthe crumb to set properly.
Conclusion:
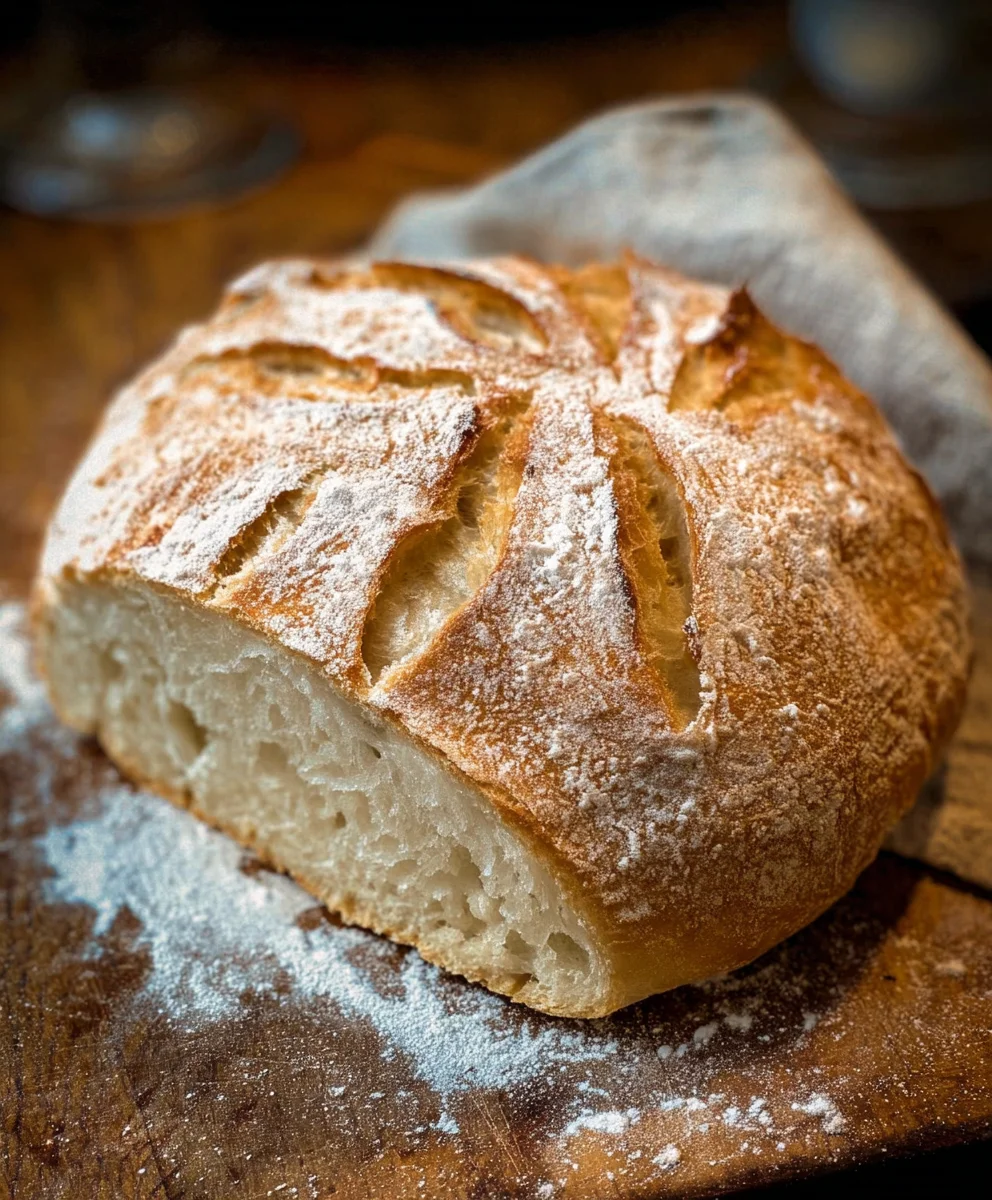
And there you have it – your guide to mastering the extractners Sourdough bread recipe: High starter method! We’ve walked through each crucial step, from feeding your starter to shaping your dough and achieving that perfect oven spring. This extractners Sourdough bread recipe: High starter method, while requiring patience, rewards you with a deeply flavorful, wonderfully textured loaf that’s far superior to anything store-bought. Don’t be discouraged if your first attempt isn’t absolutely perfect; sourdough is a journey, and every bake teaches you something new. Experiment with different scoring patterns, try adding seeds or herbs to the dough, or even a touch of honey for a subtle sweetness. The possibilities are truly endless!
This extractners Sourdough bread recipe: High starter method is fantastic served simply with butter, or as the base for your favorite sandwiches. It also makes a beautiful accompaniment to soups and stews. Embrace the process, trust your instincts, and most importantly, enjoy the delicious results of your hard work. Happy baking!
Frequently Asked Questions:
Why is my extractners Sourdough bread recipe: High starter method not rising enough?
This can be due to a few reasons. Ensure your starter is active and bubbly before using it. Over-proofing or under-proofing the dough can also hinder its rise. Room temperature and humidity play a significant role, so adjust your fermentation times accordingly. Using a high starter percentage, as in this extractners Sourdough bread recipe: High starter method, should generally promote a good rise, but still pay close attention to the dough’s development.
Can I use a different type of flour in this extractners Sourdough bread recipe: High starter method?
While this extractners Sourdough bread recipe: High starter method is optimized for bread flour, you can experiment with adding a small percentage (10-20%) of whole wheat or rye flour for added flavor and texture. However, significant changes in flour type will affect hydration and gluten development, potentially requiring adjustments to the recipe.
Beginner Sourdough Bread – High Starter Method
A step-by-step guide to making delicious sourdough bread using a high starter method, perfect for beginners. This recipe focuses on developing a strong gluten structure and achieving a beautiful crust and open crumb.
Ingredients
-
2 cups Active Sourdough Starter (400 grams) – active and bubbly, made from equal parts flour and water
-
3 cups Sifted All-Purpose Flour (360 grams)
-
1 cup Warm Water (240 grams) – between 80-90°F (27-32°C)
-
1.5 teaspoons Salt (≈9 grams)
-
1 tablespoon Olive Oil (for greasing bowl, optional)
Instructions
-
Step 1
Combine active sourdough starter and warm water in a large bowl. Stir until the starter begins to dissolve. Add sifted flour and mix until a shaggy dough forms. Cover and let rest for 30 minutes (autolyse). -
Step 2
Sprinkle salt over the dough and incorporate it by pinching and folding for 5-7 minutes until the dough is smoother and more cohesive. Cover and let rest for 20 minutes. -
Step 3
Perform a series of stretch-and-folds every 30 minutes for 2-3 hours (4-6 sets total). Stretch one side of the dough up and fold it over itself, rotating the bowl and repeating three more times. Cover between folds. -
Step 4
Allow the dough to bulk ferment for 3-8 hours (depending on kitchen temperature) until it increases in volume by 50-75% and appears airy. Gently turn dough onto a lightly floured surface and pre-shape into a loose round or rectangle. Cover and rest for 20-30 minutes. -
Step 5
Shape the dough for your final loaf and place seam-side up into a well-floured banneton or bowl lined with a floured tea towel. Cover and refrigerate for 12-24 hours (cold retard). -
Step 6
Preheat oven to 475°F (245°C) with a Dutch oven inside for at least 30 minutes. Invert the cold dough onto parchment paper, score the top, and carefully transfer to the preheated Dutch oven. Bake covered for 20 minutes. -
Step 7
Remove the lid from the Dutch oven, reduce oven temperature to 450°F (230°C), and bake for another 20-25 minutes until the crust is deep golden brown and internal temperature reaches 205-210°F (96-99°C). Cool completely on a wire rack before slicing.
Important Information
Nutrition Facts (Per Serving)
It is important to consider this information as approximate and not to use it as definitive health advice.
Allergy Information
Please check ingredients for potential allergens and consult a health professional if in doubt.