Easy Apple Crisp Recipe – Best Comfort Dessert
Apple Crisp is more than just a dessert; it’s a warm hug on a chilly evening, a nostalgic trip back to Grandma’s kitchen, and a guaranteed crowd-pleaser. What is it about this humble yet magnificent dish that captures our hearts (and taste buds) so consistently? Perhaps it’s the perfect harmony of textures: the tender, slightly tart apples yielding to a delightfully crum extractbly, buttery topping. Or maybe it’s the comforting aroma that fills your home as it bakes, a promise of pure, unadulterated comfort. This isn’t just about simple ingredients; it’s about the magic that happens when sweet apples meet a golden, spiced oat topping, creating a symphony of flavors that is both comforting and exciting. Get ready to fall in love all over again with a truly exceptional Apple Crisp.
Ingredients:
- ⅔ cup all-purpose flour (for the topping)
- ⅔ cup old-fashioned oats (for the topping)
- ⅔ cup light brown sugar (for the topping)
- ½ tsp salt (for the topping)
- ½ tsp ground cinnamon (for the topping)
- ½ cup unsalted butter, melted (for the topping)
- 6 cups peeled, thinly sliced apples (Honeycrisp, Pink Lady, or Fuji recommended)
- 3 tbsp apple juice (or orange juice)
- ¼ cup granulated sugar (for the filling)
- 2 tbsp all-purpose flour (for the filling)
- ¾ tsp ground cinnamon (for the filling)
- 1 tsp pure vanilla extract
Preparing the Filling
Start by getting your apples ready for their delicious transformation into an Apple Crisp. You’ll need about 6 cups of peeled, thinly sliced apples. I find that Honeycrisp, Pink Lady, or Fuji apples work wonderfully because they hold their shape and have a good balance of sweetness and tartness. Once your apples are peeled and sliced, place them into a large mixing bowl. This is where we’ll build the flavor foundation for our crisp.
Next, add the liquid that will help steam the apples and distribute the flavors: 3 tablespoons of apple juice. If you don’t have apple juice on hand, a good substitute is orange juice, which adds a subtle citrusy note that complements the apples beautifully. Now, let’s add the sweetness and spice. Sprinkle in ¼ cup of granulated sugar. This amount is usually perfect for bringin extractg out the natural sweetness of the apples without making the dessert overly sugary. Following that, we’ll add 2 tablespoons of all-purpose flour. This flour acts as a thickener, helping to create a lovely, slightly syrupy consistency as the apples cook, preventing the filling from becoming too watery. Finally, for that classic Apple Crisp warmth, add ¾ teaspoon of ground cinnamon. This is a generous amount, but it’s key to that comforting, spiced apple aroma and taste. And for a touch of pure, rich flavor, stir in 1 teaspoon of pure vanilla extract. Toss everything together gently but thoroughly until all the apple slices are evenly coated with the sugar, flour, and spices. Ensure no dry pockets of flour or sugar remain.
Crafting the Crisp Topping
Now for the best part – the irresistible, crum extractbly topping that gives this dessert its name! In a separate medium-sized bowl, combine the dry ingredients for the topping. This includes ⅔ cup of all-purpose flour, which provides the structure. Add ⅔ cup of old-fashioned oats. I prefer old-fashioned oats over quick oats here because they provide a delightful chegrape juicess and texture to the crisp topping. Next, measure out ⅔ cup of light brown sugar. The light brown sugar not only adds sweetness but also a lovely caramel-like depth of flavor and helps create that wonderfully crisp texture. A pinch of salt, ½ teaspoon to be precise, is crucial for balancing the sweetness and enhancing all the other flavors in the topping. And of course, more cinnamon! Add ½ teaspoon of ground cinnamon to this mixture to tie it in with the filling’s spice profile. Whisk these dry ingredients together until they are well combined.
Once your dry ingredients are mixed, it’s time to add the fat that will bind everything together and make the topping delightfully crunchy. Pour in ½ cup of melted unsalted butter. Using unsalted butter gives you more control over the saltiness of your dessert. Now, using a fork or your fingertips, work the melted butter into the dry ingredients. You want to mix until the mixture resembles rum extractrse crumbs with some larger, oat-sized clumps. Don’t overmix; you’re looking for that delightful texture, not a smooth dough. Some small lumps are exactly what you want for a good crisp topping.
Assembling and Baking
Preheat your oven to 375°F (190°C). This temperature is ideal for getting the apples tender and the topping golden brown and crispy. Select a baking dish – an 8×8 inch square dish or a similar-sized round pie plate works perfectly for this amount of filling and topping. Pour the prepared apple filling evenly into the bottom of your chosen baking dish, spreading it out so it forms a single layer. Make sure the apples are distributed as evenly as possible to ensure consistent cooking.
Now, take your prepared crisp topping mixture and sprinkle it evenly over the apple filling. Gently pat down the topping just slightly, but avoid pressing it too firmly, as this can make it dense. You want it rum extractbe a loose, crumbly layer. The goal is for the topping to become golden brown and deliciously crisp as it bakes, encasing the tender, spiced apples below. Once the dish is assembled, carefully place it in the preheated oven.
Baking to Golden Perfection
Bake for 30 to 40 minutes, or until the topping is beautifully golden brown and the apple filling is bubbling around the edges. You should be able to see the juices from the apples thickening and coming to a gentle boil. The aroma filling your kitchen at this point will be absolutely divine, a true testament to the magic of baked apples and spices. If the topping starts to brown too quickly before the filling is fully cooked, you can loosely tent the dish with aluminum foil for the remainder of the baking time. This protects the topping from burning while allowing the inside to finish cooking.
Once baked to perfection, carefully remove the Apple Crisp from the oven. It’s important to let it rest for at least 10 to 15 minutes before serving. This resting period allows the filling to set up slightly and prevents the crisp from being too runny when you scoop it out. This also gives the flavors a chance to meld together even further. The crisp will be quite hot, so exercise caution when handling the dish.
Conclusion:
There you have it! Making a delicious Apple Crisp from scratch is not only rewarding but also surprisingly straightforward. This recipe is designed to be accessible for home bakers of all levels, promising a warm, comforting dessert bursting with the sweet and tart flavors of perfectly baked apples and a delightfully crunchy, cinnamon-spiced topping. We hope you enjoy every spoonful, whether served warm on a chilly evening or as a delightful end to a family meal.
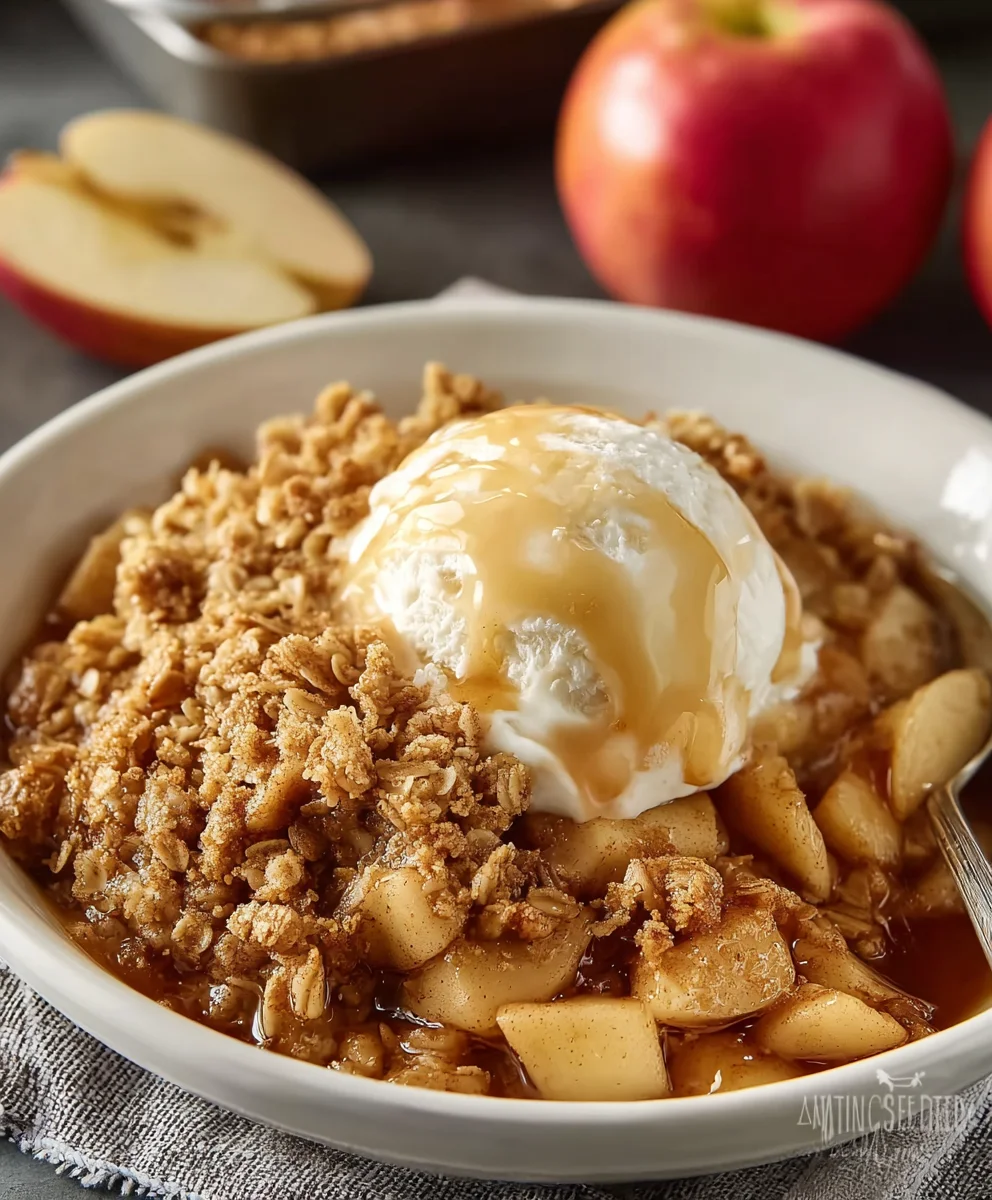
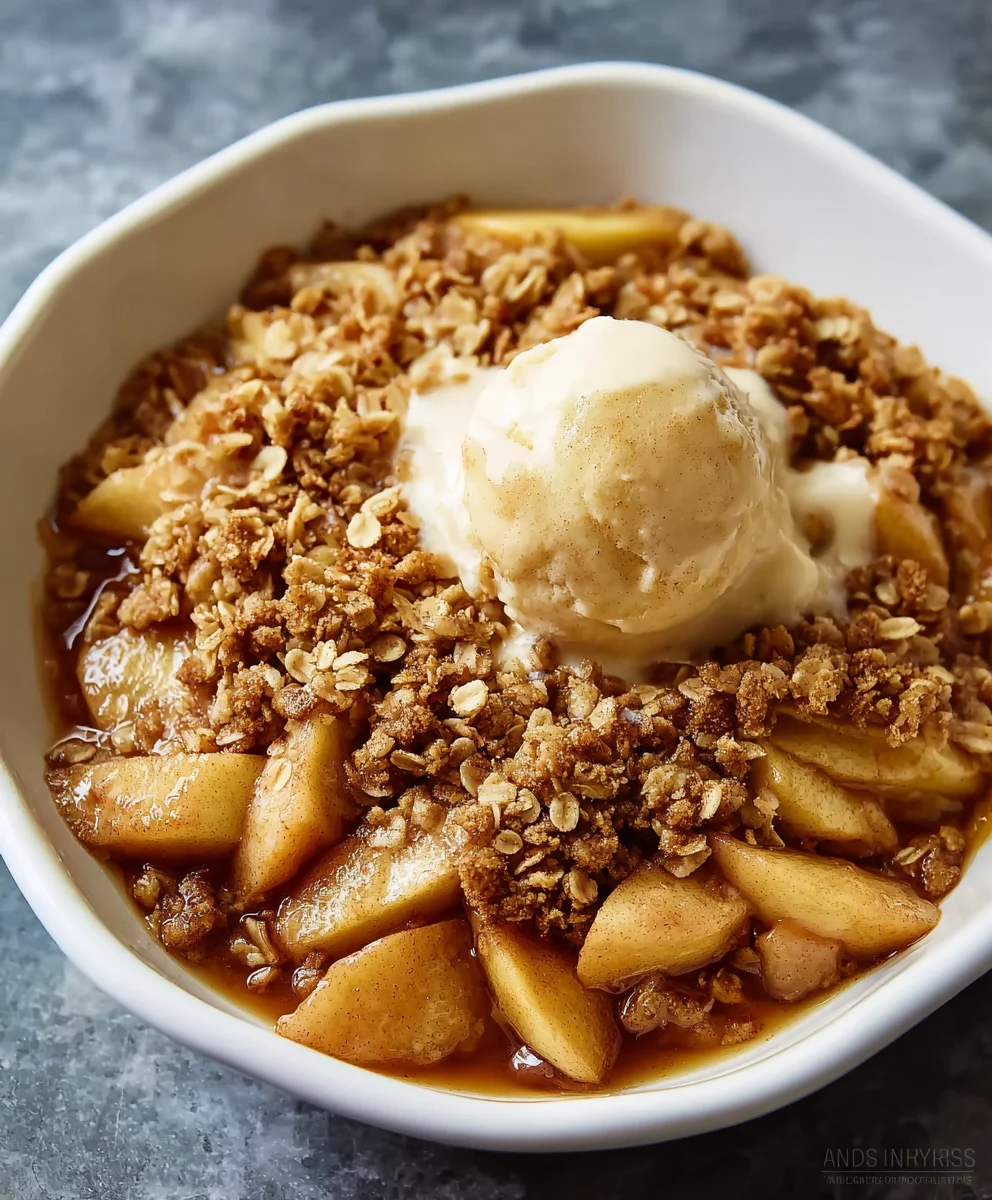
For serving suggestions, nothing beats a scoop of creamy vanilla ice cream or a dollop of freshly whipped cream alongside your warm Apple Crisp. A drizzle of caramel sauce can also elevate this classic dessert to new heights. Feel free to get creative with variations! Consider adding a handful of chopped pecans or walnuts to the topping for extra texture and nutty flavor, or a pinch of nutmeg to the apple filling for added warmth. You can also experiment with different apple varieties, like a mix of Granny Smith for tartness and Honeycrisp for sweetness.
We encourage you to try this Apple Crisp recipe and make it your own. Baking should be a joyful experience, so don’t be afraid to adjust spices to your liking or try different fruits. The most important ingredient is always love, so gather your loved ones and share this delightful homemade treat!
Frequently Asked Questions:
Q: Can I make the Apple Crisp topping ahead of time?
A: Yes, you absolutely can! You can prepare the topping mixture and store it in an airtight container in the refrigerator for up to 2 days. You might need to break up any clumps before sprinkling it over the apples before baking.
Q: What are the best apples to use for Apple Crisp?
A: For the best flavor and texture, a mix of tart and sweet apples is ideal. Granny Smith apples are excellent for their tartness and ability to hold their shape. Complement them with sweeter varieties like Honeycrisp, Fuji, or Gala apples for a balanced taste. Avoid apples that are too soft or mealy, as they can become mushy during baking.
Q: My Apple Crisp topping is too dry, what can I do?
A: If your topping seems too dry, it might be due to the consistency of your butter. Ensure your butter is cold and cut into small cubes. If it still seems dry, you can try adding an extra tablespoon or two of melted butter to help bind the dry ingredients together. Don’t overmix, though; a crum extractbly texture is what you’re aiming for.
Easy Apple Crisp Recipe – Best Comfort Dessert
A comforting and easy apple crisp recipe with a perfectly crumbly topping.
Ingredients
-
⅔ cup all-purpose flour (for the topping)
-
⅔ cup old-fashioned oats
-
⅔ cup light brown sugar
-
½ tsp salt
-
½ tsp ground cinnamon
-
½ cup unsalted butter, melted
-
6 cups peeled, thinly sliced apples (Honeycrisp, Pink Lady, or Fuji recommended)
-
3 tbsp apple juice
-
¼ cup granulated sugar
-
2 tbsp all-purpose flour
-
¾ tsp ground cinnamon
-
1 tsp pure vanilla extract
Instructions
-
Step 1
Prepare the filling: Combine peeled, sliced apples with apple juice, granulated sugar, all-purpose flour, ground cinnamon, and vanilla extract in a large bowl. Toss to coat evenly. -
Step 2
Craft the crisp topping: In a separate bowl, mix all-purpose flour, oats, light brown sugar, salt, and ground cinnamon. Pour in melted butter and mix with a fork or fingertips until crumbly with clumps. -
Step 3
Assemble the crisp: Preheat oven to 375°F (190°C). Pour the apple filling into an 8×8 inch baking dish. Sprinkle the crisp topping evenly over the apples. -
Step 4
Bake for 30 to 40 minutes, or until the topping is golden brown and the filling is bubbling. -
Step 5
If the topping browns too quickly, tent loosely with aluminum foil. Remove from oven and let rest for 10-15 minutes before serving.
Important Information
Nutrition Facts (Per Serving)
It is important to consider this information as approximate and not to use it as definitive health advice.
Allergy Information
Please check ingredients for potential allergens and consult a health professional if in doubt.