Simple Amish White Bread Recipe – Easy Homemade Loaf
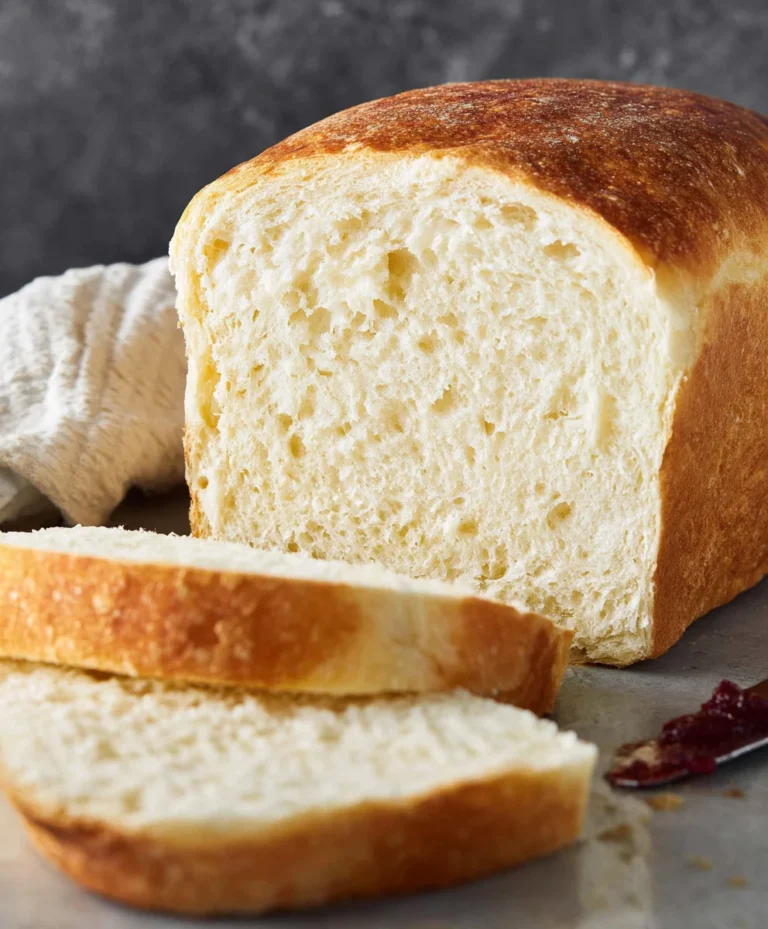
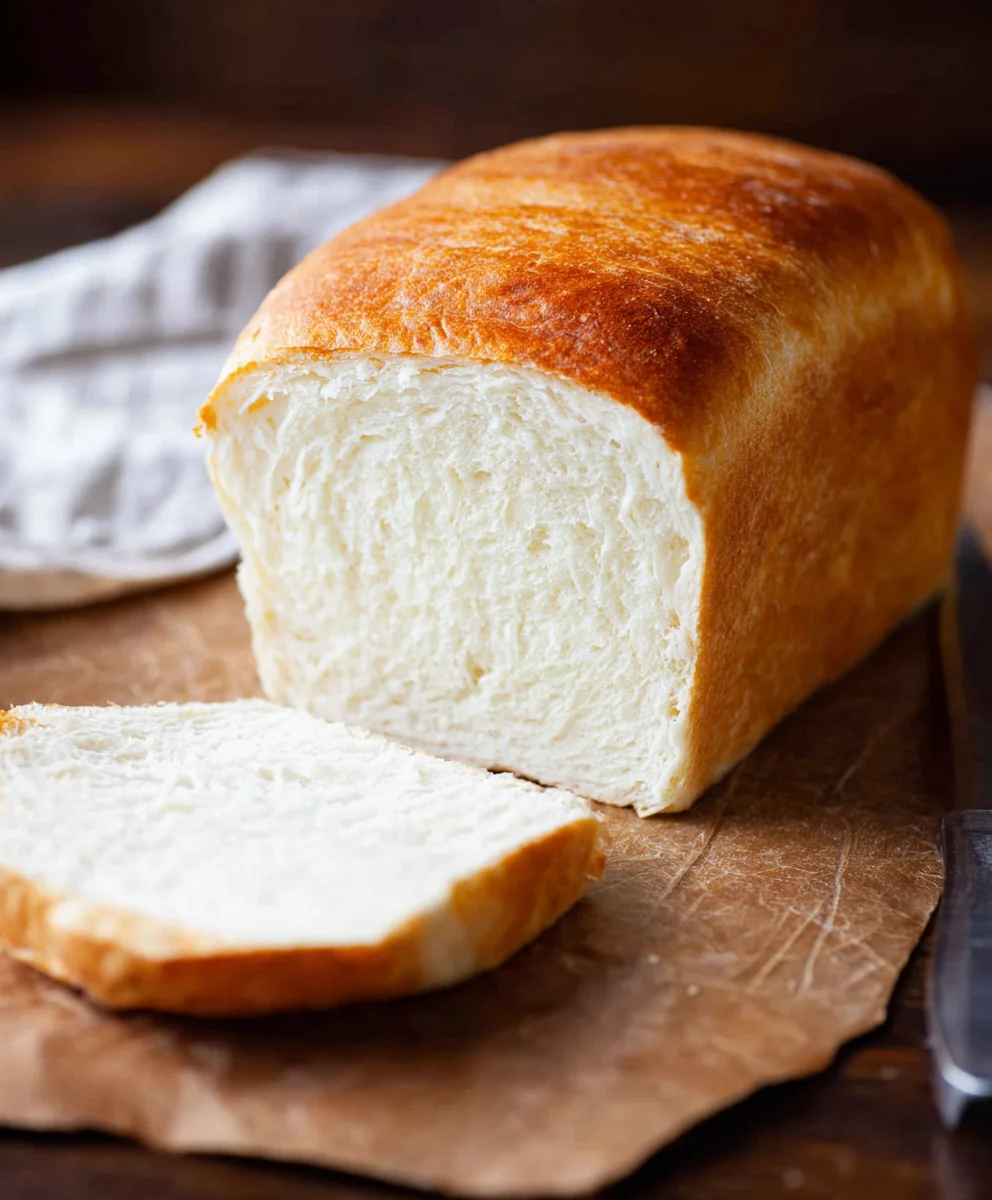
AMISH WHITE BREAD is more than just a loaf of bread; it’s a warm hug in every slice, a testament to simple ingredients and time-honored traditions. There’s a magic that happens when flour, water, yeast, and salt come together, and the Amish have truly perfected this alchemy. People adore this AMISH WHITE BREAD for its incredibly soft, pillowy texture and its delicately sweet, slightly buttery flavor that’s utterly comforting. It’s the kind of bread that transports you back to grandma’s kitchen, evoking feelings of nostalgia and pure, unadulterated joy. What makes this recipe truly special is its inherent simplicity; there are no complicated steps or obscure ingredients, just a dedication to achieving a perfect, airy crum extractb and a golden crust that sings when you tap it. This isn’t just baking; it’s an act of love that you can taste.”
Ingredients:
- 1 cup warm water, (110-120°F)
- ⅓ cup granulated sugar
- 1 packet (2 ¼ teaspoons) instant yeast
- 3 cups all-purpose flour, plus more for dusting
- ¾ teaspoon salt
- 2 tablespoons vegetable or canola oil
- 2 tablespoons unsalted butter, melted
Preparing the Dough
Mixing the Yeast Mixture
The first crucial step in crafting our perfect AMISH WHITE BREAD is activating the yeast. In a large mixing bowl, combine the 1 cup of warm water, ensuring it’s within the 110-120°F range. This temperature is vital; too hot and you’ll kill the yeast, too cool and it won’t activate properly. Next, sprinkle the ⅓ cup of granulated sugar over the warm water. The sugar acts as food for the yeast, helping it to get nice and bubbly. Finally, add the entire packet of instant yeast (which is equivnon-alcoholic alent to 2 ¼ teaspoons). Give this mixture a gentle stir, just enough to combine the ingredients. Then, let it sit undisturbed for about 5 to 10 minutes. You’ll know the yeast is active and ready when the surface becomes foamy and frothy. This visual cue tells you the yeast is alive and ready to work its magic in leavening our bread. If you don’t see foam, your yeast may be old or the water temperature was off, and you’ll need to start this step over with fresh yeast and properly warmed water.
Combining Wet and Dry Ingredients
Once your yeast mixture is happily bubbling, it’s time to incorporate the other ingredients. To the foamy yeast mixture, add the 2 tablespoons of vegetable or canola oil and the 2 tablespoons of melted unsalted butter. The oil and butter contribute to a tender crum extractb and a slightly richer flavor in our AMISH WHITE BREAD. Give this a quick whisk to emulsify the liquids. In a separate medium bowl, whisk together the 3 cups of all-purpose flour and the ¾ teaspoon of salt. The salt not only adds flavor but also controls the yeast activity, preventing it from fermenting too quickly. Now, gradually add the dry ingredients to the wet ingredients. I like to add about half of the flour mixture first, stirring with a wooden spoon or a sturdy spatula until it’s mostly incorporated. Then, add the remaining flour mixture and continue to stir until a shaggy dough begin extracts to form. At this stage, the dough will be sticky and probably won’t hold its shape perfectly, which is exactly what we want.
Kneading and First Rise
Kneading the Dough
Now comes the part that really develops the gluten structure, giving our AMISH WHITE BREAD its lovely chew and shape. Turn the shaggy dough out onto a lightly floured surface. Be generous with the flour on your surface, but try not to incorporate too much extra flour into the dough itself at this stage, as it can make the bread tgin extracth. Begin to knead the dough. This involves pushing the dough away from you with the heels of your hands, then folding it back over on itself, rotating it slightly, and repeating. Continue this rhythmic process for about 8 to 10 minutes. The dough will gradually transform from sticky and unruly to smooth, elastic, and slightly tacky. You’ll know it’s ready when you can stretch a small piece of the dough thinly between your fingers without it tearing immediately – this is called the windowpane test. If it’s still very sticky, add just a little more flour, a tablespoon at a time, until it’s manageable.
First Proofing (Rising)
Once your dough is beautifully kneaded, it’s time to let it rest and rise. Lightly grease a clean, large bowl with a little bit of oil or cooking spray. Place the kneaded dough into the oiled bowl, turning it once to coat the entire surface with oil. This prevents a dry skin from forming as it rises. Cover the bowl tightly with plastic wrap or a clean, damp kitchen towel. Find a warm, draft-free spot in your kitchen for the dough to rise. An oven that has been turned off but is still slightly warm (the pilot light can sometimes create enough warmth) or a spot near a sunny window can work well. Let the dough rise for about 1 to 1 ½ hours, or until it has at least doubled in size. You’ll see a significant puffiness, and when you gently poke it with a floured finger, the indentation should remain, or slowly spring back only slightly. This first rise is critical for developing flavor and texture.
Shaping and Baking
Shaping the Loaf
After the first rise, gently punch down the dough to release the accumulated gases. Turn the dough out onto your lightly floured work surface once more. For a classic loaf shape, gently shape the dough into a round or an oval. To do this, flatten the dough slightly with your hands, then gently pull the edges of the dough towards the center, creating tension on the surface. Flip the dough over so the seam is on the bottom and gently cup your hands around it, rotating it to form a smooth ball or oblong shape. For an even more uniform loaf, you can also try the technique of folding the dough into thirds, like a business letter, and then rolling it up tightly from the bottom. This creates layers and a beautiful structure. Once shaped, place the dough into a greased 9×5 inch loaf pan, seam-side down.
Second Proofing and Baking
Now that your AMISH WHITE BREAD dough is shaped and in its pan, it needs a second, shorter rise. Cover the loaf pan loosely with plastic wrap or a clean kitchen towel. Place it back in a warm spot for about 30 to 45 minutes, or until the dough has visibly risen and is nearly filling the pan. It should look puffy and light. While the dough is undergoing its second rise, preheat your oven to 375°F (190°C). Once the oven is preheated and the dough has completed its second rise, you can optionally brush the top with a little milk or an egg wash for a golden sheen, though it’s not essential for this classic recipe. Carefully place the loaf pan into the preheated oven. Bake for approximately 30 to 35 minutes. You’ll know the bread is done when the crust is a beautiful golden brown and the internal temperature reaches around 190-200°F (88-93°C) when checked with an instant-read thermometer. Alternatively, you can tap the bottom of the loaf; it should sound hollow. Remove the bread from the pan immediately after baking and place it on a wire rack to cool completely before slicing. This cooling period is essential for the bread’s texture to set properly.
Conclusion:
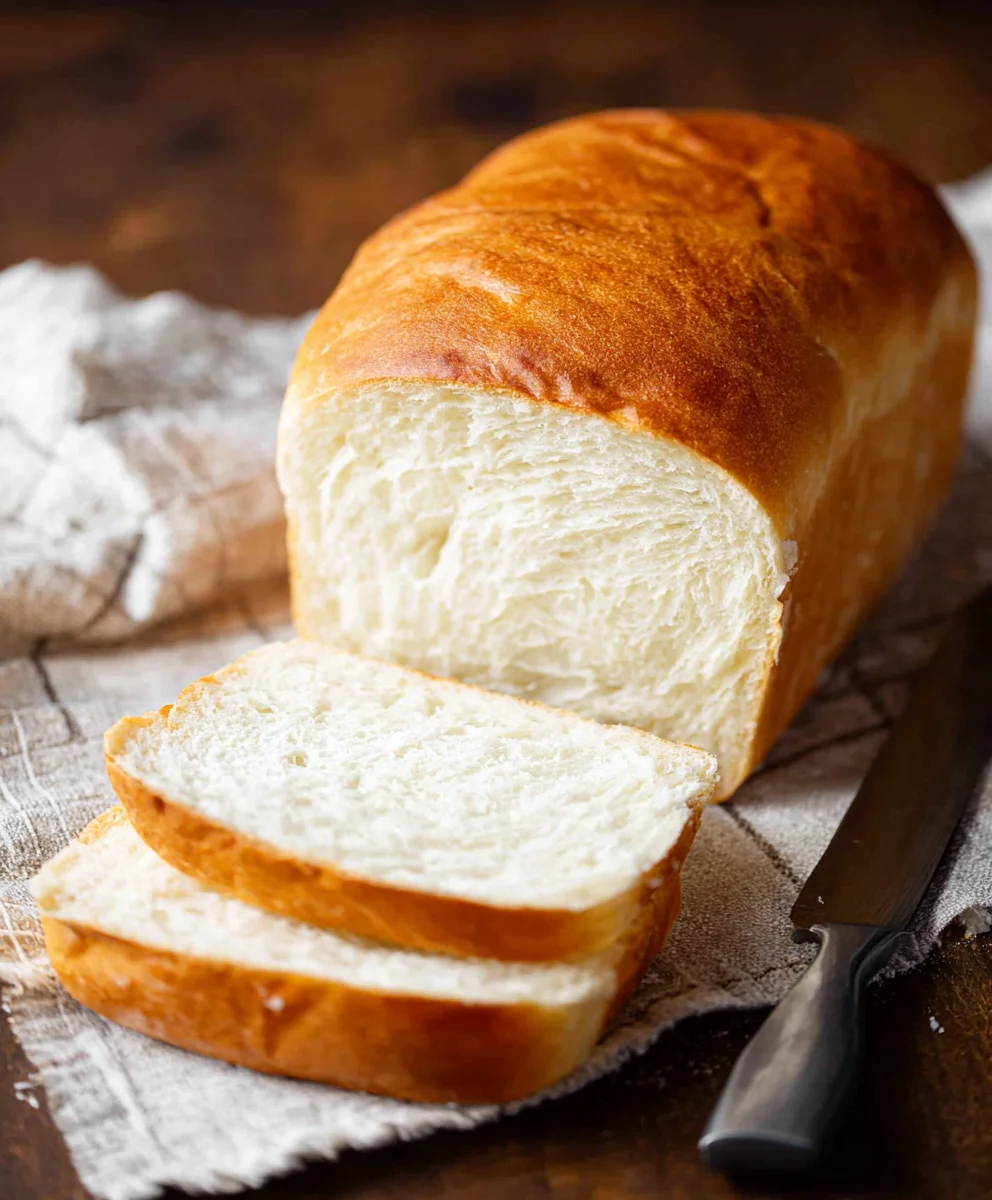
You’ve now unlocked the secret to creating incredibly soft, fluffy, and delicious AMISH WHITE BREAD right in your own kitchen! This recipe truly delivers on its promise of a classic, comforting loaf that’s perfect for any occasion. The simplicity of the ingredients and the straightforward process make it an ideal choice for bakers of all skill levels. Don’t be intimidated; the aroma filling your home as it bakes will be your reward!
This versatile AMISH WHITE BREAD is a joy to serve. It’s magnificent toasted with a generous smear of butter, perfect for creating hearty sandwiches, or served alongside your favorite soups and stews. For a touch of sweetness, a drizzle of honey or jam is always a welcome addition. Feel free to experiment with variations! You can add a sprinkle of herbs to the dough for a savory twist, or a handful of seeds for added texture and nutrition. Perhaps even try incorporating a touch of whole wheat flour for a slightly heartier loaf.
We encourage you to give this AMISH WHITE BREAD recipe a try. The satisfaction of pulling a warm, golden loaf from your oven is unparalleled. Enjoy the process, and savor every delicious bite!
FAQs:
Q: My AMISH WHITE BREAD didn’t rise as much as I expected. What could be the reason?
A: Several factors can affect rising. Ensure your yeast was fresh and properly activated (it should foam). Check your room temperature; yeast thrives in a warm environment. Over-kneading can also develop too much gluten, making it stiff. Make sure you’re allowing the dough ample time to proof in a warm, draft-free spot.
Q: Can I make AMISH WHITE BREAD without a stand mixer?
A: Absolutely! This recipe is perfectly adaptable to hand-kneading. It will take a bit more effort and time, but the results are just as delicious. Focus on achieving a smooth, elastic dough, which typically takes about 10-15 minutes of consistent kneading.
Simple Amish White Bread Recipe – Easy Homemade Loaf
A straightforward and easy-to-follow recipe for classic Amish white bread, perfect for beginners.
Ingredients
-
1 cup warm water (110-120°F)
-
⅓ cup granulated sugar
-
1 packet (2 ¼ teaspoons) instant yeast
-
3 cups all-purpose flour, plus more for dusting
-
¾ teaspoon salt
-
2 tablespoons vegetable or canola oil
-
2 tablespoons unsalted butter, melted
Instructions
-
Step 1
In a large mixing bowl, combine warm water, sugar, and instant yeast. Let sit for 5-10 minutes until foamy. -
Step 2
Add vegetable oil and melted butter to the yeast mixture. In a separate bowl, whisk together flour and salt. Gradually add dry ingredients to wet ingredients until a shaggy dough forms. -
Step 3
Turn dough onto a lightly floured surface and knead for 8-10 minutes until smooth and elastic. Perform the windowpane test. -
Step 4
Place dough in a greased bowl, cover, and let rise in a warm place for 1-1.5 hours, or until doubled in size. -
Step 5
Punch down dough, shape into a loaf, and place into a greased 9×5 inch loaf pan. Cover and let rise for another 30-45 minutes. -
Step 6
Preheat oven to 375°F (190°C). Bake the loaf for 30-35 minutes until golden brown and hollow-sounding when tapped. Cool completely on a wire rack before slicing.
Important Information
Nutrition Facts (Per Serving)
It is important to consider this information as approximate and not to use it as definitive health advice.
Allergy Information
Please check ingredients for potential allergens and consult a health professional if in doubt.