
Easy Rustic Bread Recipe – Bake Amazing Loaves
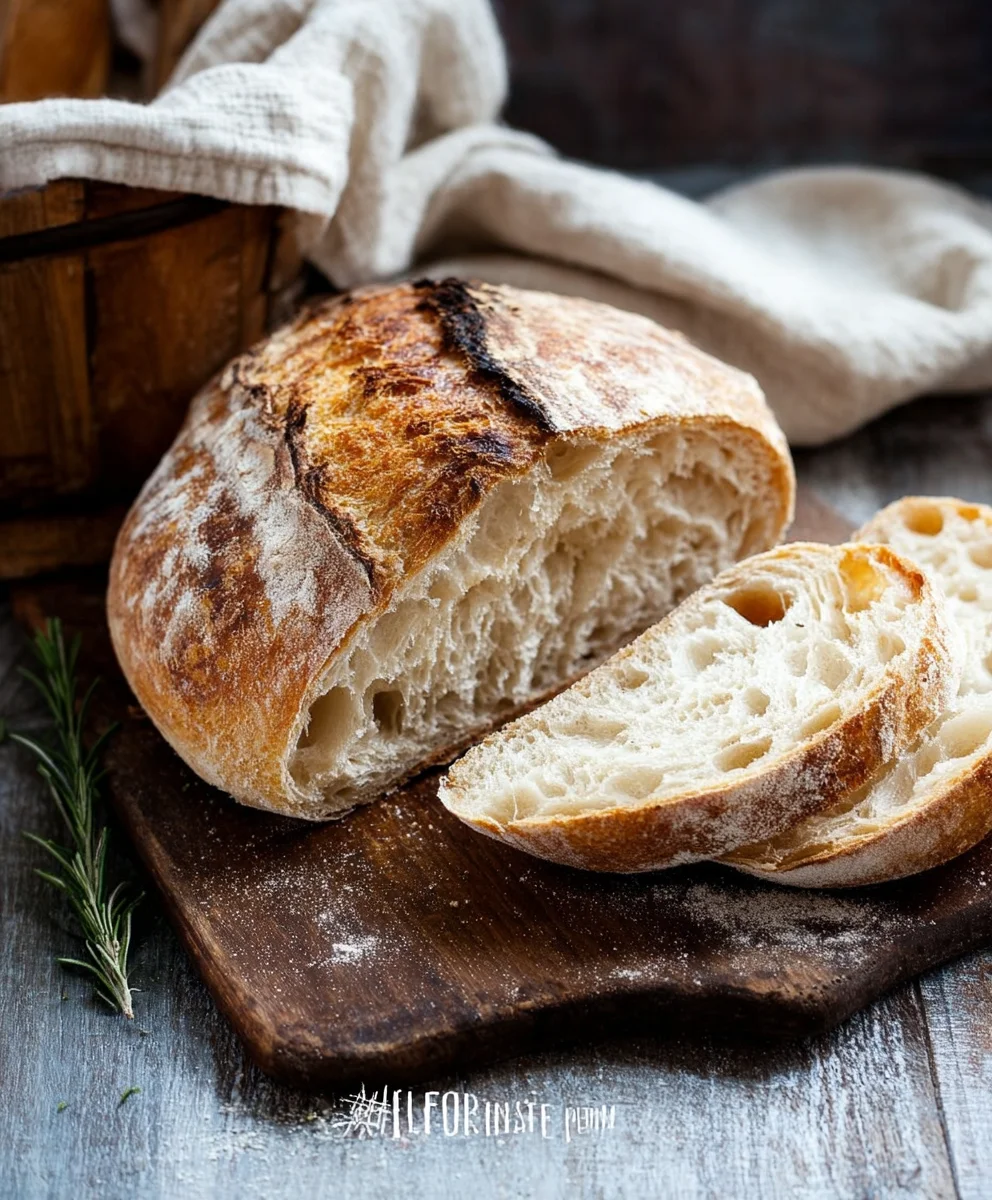
Rustic Bread Recipe is more than just a collection of ingredients and instructions; it’s an invitation to experience the primal joy of baking. There’s something incredibly satisfying, almost therapeutic, about transforming simple flour, water, yeast, and salt into a golden-crusted loaf that fills your kitchen with an aroma that evokes comfort and tradition. People adore this type of bread because it’s a testament to patience and a celebration of natural flavors. Unlike overly processed bakery breads, this rustic bread recipe delivers a hearty, chewy interior with a wonderfully crisp, crackling crust that’s perfect for slathering with butter, dipping into soup, or building the ultimate sandwich. What makes it truly special is its simplicity, allowing the quality of the basic ingredients to shine through, creating a deeply flavorful and texturally rich experience that’s both grounding and utterly delicious.
Ingredients:
- 3 cups warm water
- 2 ¼ teaspoons active dry yeast (this is typically one standard packet)
- 1 tablespoon sugar
- 6 cups all-purpose flour (approximately 750 grams)
- 3 teaspoons salt
Getting Started with Your Rustic Bread Dough
Mixing the Yeast and Sugar
To begin extract, let’s get our yeast activated. In a large mixing bowl, combine the 3 cups of warm water. The water should feel comfortably warm to your touch, similar to bathwater, not hot or cold. If it’s too hot, it will kill the yeast; too cold, and it won’t activate properly. To this warm water, add the 2 ¼ teaspoons of active dry yeast and the 1 tablespoon of sugar. The sugar acts as food for the yeast, giving it a kickstagin extractto begin its fermentation process. Give this mixture a gentle stir with a spoon or whisk just to ensure the yeast and sugar are mostly dispersed. Then, let it sit undisturbed for about 5 to 10 minutes. You’ll know the yeast is alive and active when it starts to look foamy or bubbly on the surface. This “blooming” is a visual cue that your yeast is ready to go to work. If you don’t see any foam after 10 minutes, your yeast might be old or the water temperature was off, and you’ll need to start this step again with fresh yeast.
Incorporating the Flour and Salt
Once you see that beautiful foamy bloom on your yeast mixture, it’s time to add the main players: the flour and salt. To the same large mixing bowl, add the 6 cups of all-purpose flour and the 3 teaspoons of salt. The salt is crucial not only for flavor but also for controlling the yeast’s activity and strengthening the gluten structure of the bread. I like to add the flour and salt around the edges of the bowl, creating a bit of a well in the center where the yeast mixture is. This helps to gradually incorporate the dry ingredients into the wet. You can start by using a wooden spoon or a sturdy spatula to gently mix everything together. Continue mixing until agin extractaggy dough begins to form. It won’t look smooth at this stage, and that’s perfectly normal. You might still see some dry pockets of flour, but the majority of the ingredients should be coming together into a cohesive mass.
Developing the Dough
Kneading the Dough
Now comes the fun part: kneading! Turn the shaggy dough out onto a lightly floured surface. This is where you’ll develop the gluten, which gives bread its structugin extractand chewy texture. Begin to knead by pushing the dough away from you with the heels of your hands, then fold it back over on itself. Rotate the dough a quarter turn and repeat the process. Continue kneading for about 8 to 10 minutes. Initially, the dough will be sticky and a little unruly. Resist the urge to add too much extra flour; a little sticking is okay and actually helpful for developing good gluten. As you knead, the dough will gradually become smoother, more elastic, and less sticky. You’ll know it’s ready when you can stretch a small piece of it thinly between your fingers without it tearing immediately – this is called the windowpane test. It should feel smooth and supple.
First Rise (Bulk Fermentation)
After kneading, shape the dough into a ball. Lightly grease a clean large bowl with a little oil or cooking spray. Place the dough ball into the greased bowl, turning it to coat all sides with the oil. This prevents a dry crust from forming during the rise. Cover the bowl tightly with plastic wrap or a clean, damp kitchen towel. Find a warm, draft-free spot in your kitchen for the dough to rise. An oven that has been turned off but is still slightly warm (after being briefly preheated and then turned off) is often a great spot. Let the dough rise for about 1 to 1.5 hours, or until it has doubled in size. The exact time will depend on the temperature of your kitchen. You’ll see it puff up significantly, looking light and airy.
Shaping and Baking Your Rustic Loaf
Punching Down and Second Rise
Once your dough has doubled in size, it’s time to punch it down. Gently press your fist into the center of the dough. This releases the carbon dioxide that has built up during the first rise, which in turn redistributes the yeast and sugars, creating a more even texture in the final loaf. Turn the dough out onto a lightly floured surface again. At this point, you can shape your bread. For a rustic loaf, you can simply form it into a round boule or an oblong shape, often called a batard. To do this, gently pull the edges of the dough towards the center and then flip it over so the seams are on the bottom. Cup your hands around the dough and gently rotate it on the counter to create tension on the surface, forming a nice, taut ball or oblong. Place the shaped dough onto a baking sheet lined with parchment paper or onto a baking stone. Loosely cover it again and let it have a second rise for another 30 to 45 minutes, or until it looks noticeably puffy again.
Baking the Bread
Preheat your oven to 425°F (220°C). If you’re using a baking stone, make sure to preheat it in the oven for at least 30 minutes. Just before baking, you can lightly score the top of your loaf with a sharp knife or a lame. This helps control where the bread expands as it bakes and creates a beautiful, rustic appearance. For an even crispier crust, you can create steam in your oven. Place a shallow oven-safe pan on the bottom rack of your oven while it preheats. Once you put the bread in, carefully pour about a cup of hot water into that pan (be cautious of the steam) and quickly close the oven door. Bake the bread for 30 to 40 minutes, or until the crust is a deep golden brown and the internal temperature reaches around 200-210°F (93-99°C) when tested with an instant-read thermometer. The bottom of the loaf should also sound hollow when tapped. Let the bread cool completely on a wire rack before slicing and enjoying. This cooling period is essential for the crum extractb to set properly.
Conclusion:
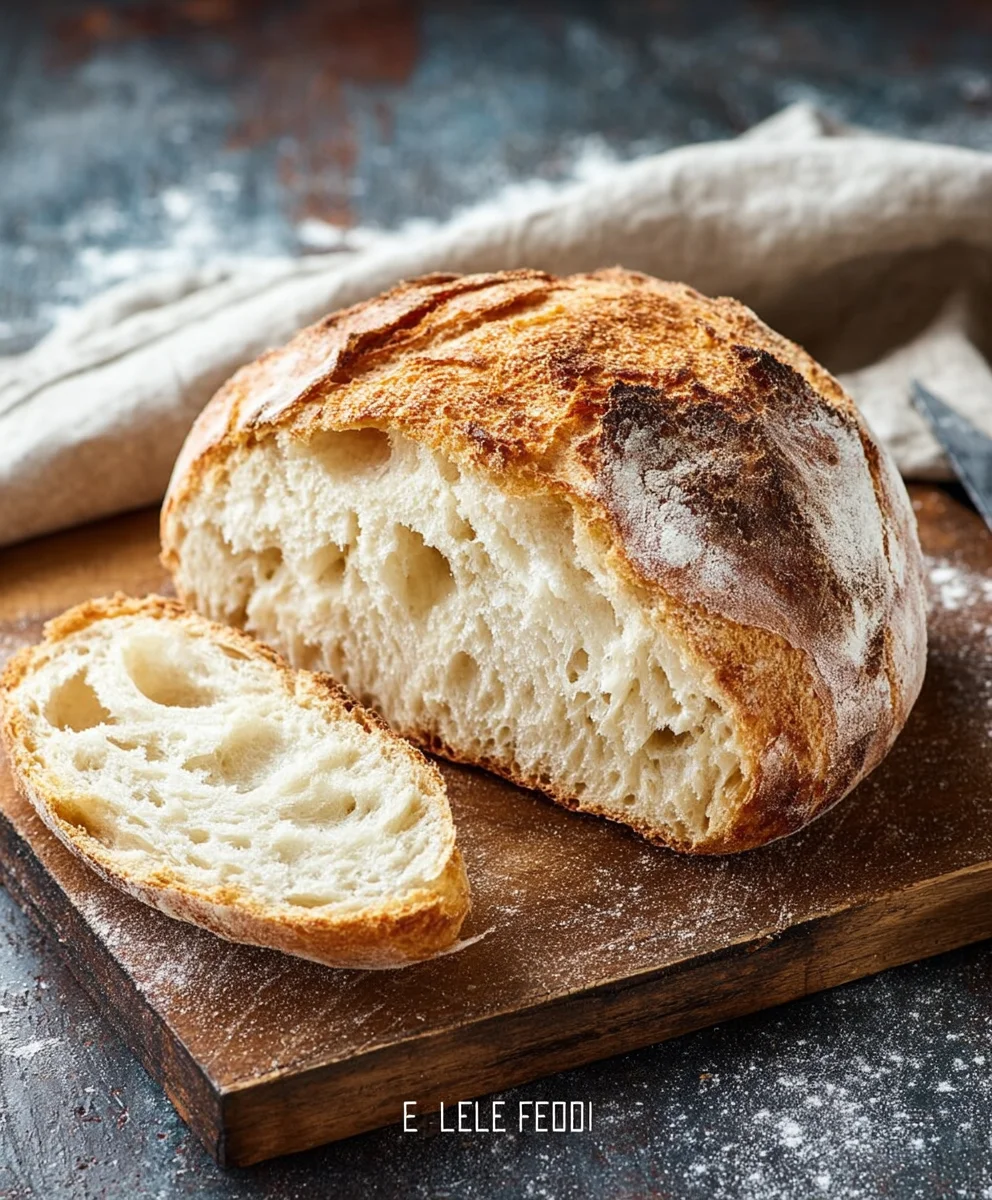
You’ve now mastered the art of creating a truly delicious and satisfying Rustic Bread Recipe! This recipe, with its wonderfully chewy crust and tender crum extractb, is perfect for any occasion. We’ve walked through each step together, from activating the yeast to achieving that beautiful golden-brown exterior. The aroma filling your kitchen as this bread bakes is simply divine and a testament to your efforts.
Serve this versatile Rustic Bread Recipe warm with a generous slather of butter, alongside your favorite soups and stews, or as the foundation for incredible sandwiches. It’s also fantastic toasted and topped with avocado or a smear of homemade jam.
Don’t be afraid to experiment! You can add herbs like rosemary or thyme to the dough for an aromatic twist, or incorporate a handful of seeds like sunflower or poppy for added texture and flavor. For a slightly sweeter loaf, a touch of honey can be added to the wet ingredients.
We encourage you to bake this Rustic Bread Recipe again and again, making it your own. The joy of homemade bread is an unparalleled experience, and this recipe provides a solid foundation for your baking adventures. Enjoy the fruits of your labor!
Frequently Asked Questions:
Why is my rustic bread not rising properly?
Several factors can affect rising. Ensure your yeast is fresh and has been activated in warm, not hot, water. Over-mixing the dough can develop too much gluten, making it tough and inhibiting rise. Also, make sure your kitchen is warm enough for proofing; a drafty spot can slow down or stop the yeast’s activity.
Can I make this rustic bread recipe ahead of time?
Absolutely! Once cooled, this Rustic Bread Recipe can be stored at room temperature in a bread bag or loosely wrapped in a clean kitchen towel for 2-3 days. For longer storage, it freezes beautifully. Wrap the cooled loaf tightly in plastic wrap, then in foil, and freeze for up to 3 months. Thaw at room temperature and re-warm in a low oven if desired.
Easy Rustic Bread Recipe – Bake Amazing Loaves
A simple recipe to bake delicious, crusty rustic bread at home.
Ingredients
-
3 cups warm water
-
2 ¼ teaspoons active dry yeast
-
1 tablespoon sugar
-
6 cups all-purpose flour
-
3 teaspoons salt
Instructions
-
Step 1
In a large bowl, combine warm water, active dry yeast, and sugar. Let sit for 5-10 minutes until foamy. -
Step 2
Add flour and salt to the yeast mixture and stir until a shaggy dough forms. -
Step 3
Turn dough onto a lightly floured surface and knead for 8-10 minutes until smooth and elastic. Perform the windowpane test. -
Step 4
Place dough in a greased bowl, cover, and let rise in a warm place for 1 to 1.5 hours, or until doubled in size. -
Step 5
Punch down the dough, shape into a round or oblong loaf, place on a baking sheet, cover, and let rise for another 30-45 minutes. -
Step 6
Preheat oven to 425°F (220°C). Score the top of the loaf. For a crispier crust, add a pan of hot water to the oven for steam. Bake for 30-40 minutes until golden brown and sounds hollow when tapped. -
Step 7
Cool completely on a wire rack before slicing.
Important Information
Nutrition Facts (Per Serving)
It is important to consider this information as approximate and not to use it as definitive health advice.
Allergy Information
Please check ingredients for potential allergens and consult a health professional if in doubt.