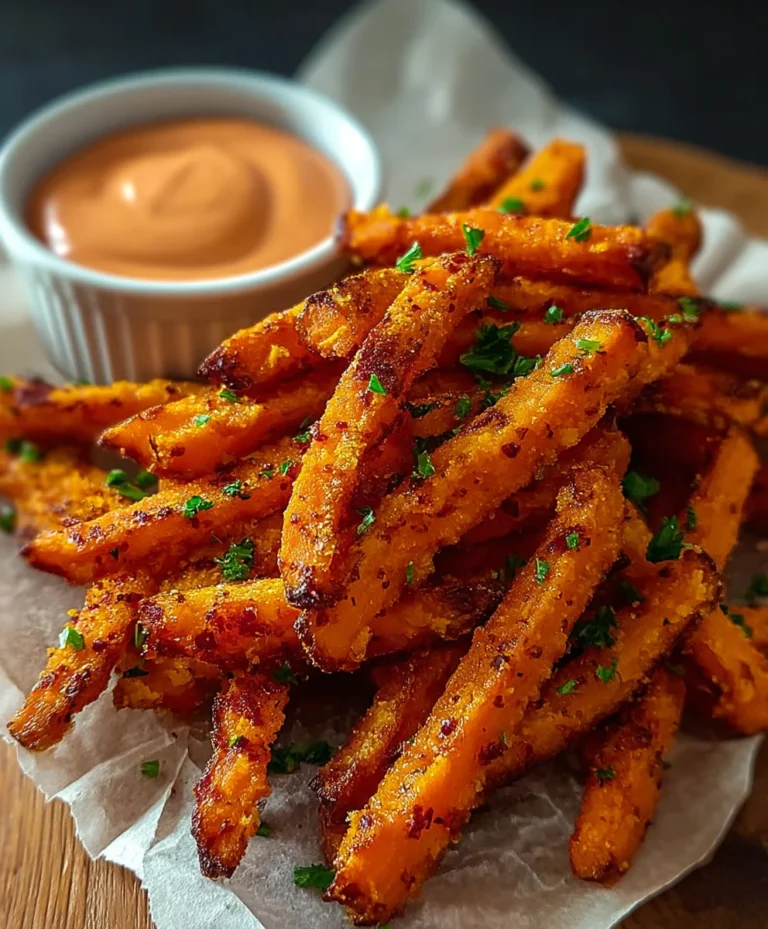
Air Fryer Buffalo Cauliflower – Easy & Spicy
Air Fryer Buffalo Cauliflower Recipe goodness is about to transform your kitchen into a flavor explosion! If you’re anything like me, you’re constantly on the hunt for those crowd-pleasing, guilt-free snacks that hit all the right notes. This Air Fryer Buffalo Cauliflower recipe delivers exactly that. We all adore buffalo wings, right? That irresistible spicy, tangy kick is pure comfort food. But what if I told you we could achieve that same addictive flavor profile, with a fraction of the calories and a whole lot more vegetable power? That’s the magic of this dish. It’s not just a substitute; it’s a spectacular star in its own right. The air fryer creates an incredible crispy exterior that mimics the satisfying crunch you crave, while the tender cauliflower florets soak up all that glorious buffalo sauce. Get ready to fall head over heels for this healthier, happier take on a classic favorite.

Air Fryer Buffalo Cauliflower: Your New Game Day Obsession
Get ready to revolutionize your snack game with this incredibly simple yet outrageously delicious Air Fryer Buffalo Cauliflower recipe. Forget greasy wings; these crispy, tangy florets are a lighter, more satisfying way to get your buffalo fix. They’re perfect for game nights, potlucks, or simply as a guilt-free indulgence when that craving strikes. The beauty of this recipe lies in its speed and the air fryer’s magic, delivering that irresistible crunch without all the oil. I’ve perfected this method to ensure you get perfectly cooked, flavorful cauliflower every single time. So, let’s dive in and make some magic happen in your kitchen!
Ingredients:
Step-by-Step Instructions:
1. Prepare the Cauliflower Florets and Batter
The first step is to get your cauliflower ready. Wash and thoroughly dry your cauliflower. It’s important to have dry florets so the batter adheres properly. Then, cut the cauliflower into bite-sized florets. Aim for pieces that are roughly uniform in size for even cooking. Now, let’s make the batter. In a medium bowl, whisk together the all-purpose flour, water, garlic powder, onion powder, smoked paprika, salt, and black pepper. You want a smooth, pancake-like batter consistency. It shouldn’t be too thin, or it will just run off the cauliflower, and not too thick, or it will be gummy. If it seems a little too thick, add a teaspoon or two of water at a time until you reach the desired consistency. Conversely, if it’s too thin, add a tablespoon of flour.
2. Coat the Cauliflower
Once your batter is ready and your cauliflower florets are prepped, it’s time to coat them. Add the cauliflower florets to the batter and gently toss them until each floret is thoroughly coated. This is where the magic begin extracts! Ensure every nook and cranny is covered. You can use a spatula or your hands (hands work best for this!) to ensure an even coating. The flour and spices will create a delicious crispy exterior once they hit the hot air fryer. Don’t overcrowd the bowl; you want to be able to toss them easily. If you’re making a large batch, you might need to do this in two separate bowls to ensure proper coating for all the florets.
3. Air Fryer Setup and Initial Cook
Preheat your air fryer to 375°F (190°C). This preheating step is crucial for achieving that signature crispiness. While the air fryer preheats, lightly coat the air fryer basket with cooking spray. This will prevent the cauliflower from sticking. Now, carefully arrange the battered cauliflower florets in a single layer in the air fryer basket. It is absolutely essential to avoid overcrowding the basket. Overcrowding will steam the cauliflower instead of crisping it, resulting in a soggy mess. Cook in batches if necessary. You want some space between each floret to allow the hot air to circulate freely around them. This initial cooking phase is all about getting them golden and slightly firm.
4. The First Crisping Round
Now, it’s time to get these bad boys crispy! Air fry the cauliflower for 10-12 minutes. Halfway through this cooking time, at around the 5-6 minute mark, carefully shake the basket or use tongs to flip the florets. This ensures that all sides of the cauliflower get beautifully golden and crispy. You’ll notice they’re starting to firm up and develop a lovely color. Keep an eye on them, as air fryer cooking times can vary slightly depending on your specific model and the size of your florets. The goal here is a tender interior with a satisfyingly crisp exterior.
5. The Buffalo Glaze and Final Crisp
While the cauliflower is in its first cooking phase, let’s prepare the buffalo sauce. In a small bowl, whisk together the buffalo sauce and the melted unsalted butter. This simple mixture creates that classic tangy, slightly spicy glaze that buffalo cauliflower is known for. Once the initial cooking time is up and you’ve flipped your florets, increase the air fryer temperature to 400°F (200°C). This higher temperature will help to really crisp up the cauliflower and set the sauce. Carefully remove the air fryer basket and gently toss the partially cooked cauliflower florets in the buffalo sauce mixture until they are evenly coated. Return the basket to the air fryer and cook for an additional 5-7 minutes, or until the cauliflower is deeply golden brown, tender on the inside, and the sauce is bubbly and slightly caramelized. Again, shake the basket halfway through this final crisping stage to ensure even coating and cooking.
6. Serve and Enjoy!
Once your air fryer buffalo cauliflower is perfectly cooked, golden, and coated in that irresistible sauce, carefully remove it from the air fryer. Serve immediately while hot and crispy. These are fantastic on their own as a snack or appetizer. For an even more authentic experience, serve them with your favorite dipping sauce like ranch or blue cheese dressing. You can also garnish them with fresh chopped parsley or chives for a pop of color and freshness. These are incredibly versatile and can be added to salads, tacos, or even served as a side dish. Enjoy every delicious, tangy, and crispy bite!

Conclusion:
There you have it – your ultimate guide to making incredibly delicious Air Fryer Buffalo Cauliflower! This recipe is a true game-changer, offering a healthier and remarkably crispy alternative to traditional wings, without sacrificing any of that beloved spicy, tangy flavor. It’s the perfect appetizer for game nights, a satisfying side dish, or even a light lunch that packs a punch. I love how quick and easy it is to whip up, and the air fryer does all the heavy lifting, giving you that perfect crunch every time. Don’t be afraid to get creative with your serving suggestions; a creamy ranch or blue cheese dip is essential, and a side of celery or carrot sticks adds a refreshing contrast. For those who enjoy experimenting, consider adding a touch of garlic powder to the coating or a drizzle of hot honey for an extra layer of sweetness and heat. I truly encourage you to give this Air Fryer Buffalo Cauliflower recipe a try – you won’t be disappointed!
Frequently Asked Questions:
What can I serve with the Air Fryer Buffalo Cauliflower?
This Air Fryer Buffalo Cauliflower is wonderfully versatile! It’s fantastic as a standalone appetizer with your favorite dipping sauce, like ranch or blue cheese dressing. For a more substantial meal, serve it alongside a fresh green salad, some air fryer fries, or even as a topping for tacos or wraps. It also makes a great side dish for grilled chicken or burgers.
Can I make this recipe spicier or less spicy?
Absolutely! To make it spicier, you can increase the amount of hot sauce you use, or add a pinch of cayenne pepper to the cauliflower coating. For a milder version, reduce the amount of hot sauce and consider using a less potent buffalo sauce. You can also dilute the hot sauce with a little butter or oil before tossing.
Air Fryer Buffalo Cauliflower
Crispy and spicy buffalo cauliflower bites made easily in the air fryer.
Ingredients
-
1 medium head of cauliflower – cut into bite-sized florets
-
1/2 cup all-purpose flour
-
1/2 cup water
-
1/2 tsp garlic powder
-
1/2 tsp onion powder
-
1/4 tsp smoked paprika
-
1/4 tsp salt
-
1/4 tsp black pepper
-
3/4 cup buffalo sauce
-
1 tbsp unsalted butter – melted
-
Cooking spray
Instructions
-
Step 1
Preheat your air fryer to 400°F (200°C). Lightly spray the air fryer basket with cooking spray. -
Step 2
In a medium bowl, whisk together the flour, water, garlic powder, onion powder, smoked paprika, salt, and black pepper until a smooth batter forms. -
Step 3
Add the cauliflower florets to the batter and toss until evenly coated. -
Step 4
Arrange the coated cauliflower in a single layer in the air fryer basket. Do not overcrowd; cook in batches if necessary. -
Step 5
Air fry for 12-15 minutes, flipping halfway through, until golden brown and crispy. -
Step 6
In a separate bowl, combine the buffalo sauce and melted butter. -
Step 7
Add the cooked cauliflower to the buffalo sauce mixture and toss gently to coat. -
Step 8
Return the coated cauliflower to the air fryer for another 1-2 minutes to warm through.
Important Information
Nutrition Facts (Per Serving)
It is important to consider this information as approximate and not to use it as definitive health advice.
Allergy Information
Please check ingredients for potential allergens and consult a health professional if in doubt.